Pages

Friday, August 5, 2011

Ruby Rush

I recently picked up Sally Hansen's Insta Dry in Ruby Rush.  It was one of those must have moments.

I love this color, it's  makes me think of the big juicy mulberries that grew on my neighbors tree when I was little.  All the kids in the neighborhood would find their way to that tree, and there was no way of disguising our berry stained hands and mouths.
 Are there polishes that remind you of something from your childhood?

Wednesday, August 3, 2011

Just Peachy Tutorial - Pic heavy

Thanks everyone for your comments on my Just Peachy mani.  I had a request for a tutorial so figured I'd give it a go.  Lets start with the supplies you'll need.

Acrylic paint, I used three but you can easily just use two, a peach and a darker orange.

A light, medium and dark green and a brown acrylic paint.

Nail color of your choice, a top coat and a couple of brushes, one needs to be very fine (I trimmed mine down myself)  Not shown  is either a glitter polish or loose glitter, and it's also helpful to have a small pallet, a paper towel, and a small container of water
Ok, now that we have our supplies we can get started.

Paint your nail the base color of your choice and let it dry completely, that way if you mess up you can wipe the acrylic off without smudging your base color.  (Hint: a damp cotton swap is better than a dry method for getting off any glitches that might occur with acrylic paint.)
 Is your varnish dry? Ok moving on.

On your pallet put a drop of each green and the brown

With the brown, do a rough sketch of a branch.

Starting with the lightest green, daub in leaves, no need to be pretty or exact, the messier it looks the better.

Do the same with the medium and dark green.  Go easy on the dark, we're going to use it for drawn in leaves later and want to make sure they stand out.


Ok, now let the acrylic paint dry and do a top coat before we move on to the peaches.
On a clean section of your pallet put a drop each of the light, medium and dark color for your peaches.

On the nail, use your lightest color to block in your basic shape for the peaches, they're basically hearts that have one half a little bigger than the other. The size and amount is up to you.

Once you get that basic shape blocked in, take your fine liner brush and outline them with the darkest shade, make sure you bring that center line down in a curve to give the peach it's "seam".  I also like to take the brush tip and bring that darker color into the peach a bit more to give the effect of shading.

This step isn't required, it just adds some more dimension, take the medium color and do a little 'C' curve on one side.  It just highlights it a bit.

Then it's time to add your leaves.  I used the darkest green and drew in the outline and a hint of a center vein on the larger ones and just did a little line for the smaller ones.  By applying more pressure at the brush tip and easing up as you pull the brush away you get a leaf shape,

That wasn't so hard was it?  Your peaches are done and they look great!  Lets let them dry a bit before moving on to the next and final step.  Ok ready?

I didn't want glitter on my peaches, just around them so I painted my top coat around them then sprinkled a light coat of loose glitter.  I made sure to tap and blow  off any stray bits that I got where I didn't want them. Alternately, you could use a glitter polish around the peaches, which is what I did for my first version of this look. 
 And finally!!!!

Top everything with a clear top coat and you're done!  It's lovely, wait until your nails are perfectly dry and give yourself a pat on the back!!
I hope you enjoyed my tutorial, If you try this I'd love to see your version, so stop by and leave me a link.  Thanks so much for stopping by and reading.  Until next time, take care!

Monday, August 1, 2011

Just Peachy Thanks!

When I think of summer I always think of Lipton's instant Peach Iced Tea, it's my favorite!  I make it by the glass to suit my taste, which is strong with lots of ice. 

Since I've got peaches on my mind I thought I'd do a mani with peaches.  I'm rather pleased that it turned out so well.  I think if I did it over I'd do some larger peaches on at least one additional nail if not all of them, but this is good for now.

I used an un-named blue by Cosmetic Arts that I picked up at Ross Dress for Less.  It's pretty, but very thin and prone to streaks.  I had to use four coats to get a decent base color.  I was less than thrilled with that.

After that, it was all acrylic paint, I started with some branches, then dabbed on leaves before starting the peaches.  They were easy, because they're just hearts that are a little heavy on one side.  Once I had the base filled in I did an outline in a darker color and used the same to put in the "seam".  Then a darker green for the leaves and they were done.  I finished off with just a touch of Kleancolor Peaceful Heart for a tiny bit of sparkle, then a top coat for everything. 
So what makes you think of summer? 

Wednesday, July 27, 2011

Sequined

This is actually the second time I've done this mani, the first was a few months ago, and I forgot to take pictures right away and they got messed up.   I liked them so much though that I had to do them again so I could share.
 
I used Finger Paints' Gallery Glam, a lovely, deep, dusky, blue.  This is two coats and the formula was great, I didn't have any of the streaking and bubbling from the heat that I've had as of late with other polishes.

While the polish was still tacky I put the sequins on using a toothpick.  I got these at Sally's and they're listed as being black.  They are on one side, but the other side which is what I used is this great iridescent green. 
My favorite picture, it really shows off the sequins!

After that I put on two coats of Seche Vite.  I drew the brush very slowly over the sequins because I didn't want bubble to form.  One wasn't quite enough to take the edges off, there was still too much risk of snagging so I used a second coat which did the trick. 


I really like the look of these, I've been on the look out for more of these sequins in different colors but haven't come across any locally so I'll start looking online.  If you know of any, point me in that direction if you please
Unfortunately these didn't survive a day at work Monday, even with the extra coat of Seche one of the sequins popped off. 
Is it bad that I actually look forward to my polish coming off?  I see it as an excuse to change my polish to something new.  Are any of you the same way? 
Thanks so much for stopping by and reading, I do appreciate you my readers, and your comments do so much for keeping me motivated.  Thank you so much, and until next time, take care.

Sunday, July 24, 2011

Patriotic Relaps

In Utah we celebrate the founding of our state on the 24th with the whole parades and fireworks thing.  Looking around you'll see lots of red white and blue, so in celebration I decorated my nails, not that I need an excuse. :)

I can't remember specifics on colors and I'm too lazy to go look at bottles but I'm pretty sure the red is QRS' Madam Scarlet, the White is by L.A. Colors and the blue and red glitter are both Stripe Rite.
I actually got several complements on it by little old ladies.  I was rather pleased with myself over that.
So to my folks in the US, does your state holiday involve red, white and blue too, or do you have your own state colors?

I think the mani speaks for its self so I'm just going to post the rest and let it go at that.  Thanks so much for stopping by and reading.  I love your comments too   Until next time, take care!

Friday, July 22, 2011

Stamping!

I finally got a Bundle Monster set (forgive me, I can't recall which one.) and am beyond tickled with it.  I've been having so much fun that I don't even care when the look doesn't work out.  Here is a mani that did work out though using BM-224.

I used American Apparel L'Esprit as my base color.  I just love it, it's such a lovely soft lavender and it goes on like a dream. 

Once that was dry I started using Wet and Wild French White Creme for the stamping, I didn't like the look of it so I switched to Orly White Tips which although not as strong a contrast as I would have liked, came out much better.

I then added a top coat of my Kleancolor Chunky Holo Purple which didn't really show up well in any of the pictures for whatever reason.  Looks great in the bottle though doesn't it.

Finally I finished it all off with a coat of Seche Vite.  I really love how girly and dainty looking it ended up, love love! 
One of the great things about shorter nails, the full images fit my entire nail.  Whoohoo!!  I just love stamping, it makes intricate nail art attainable for everyone that has the willingness to try, it just takes a little patience. 
Do you stamp?  What's your favorite, Konad, faux-nad or Bundle Monster?

Tuesday, July 19, 2011

More Glitters

Hi everyone, I'm back from vacation so I'll be able to respond to everyone's comments,  hopefully I'll get caught up tomorrow.
It was quite simply amazing in Cali, Venice Beach was, as usual, a fun and colorful event, and while I was there I upgraded my boyfriend to fiancé!!!!  
Sunday night we were on the beach at sunset and he got on his knees pulled out a gorgeous ring, and popped the question! It was totally unexpected and I'm still in shock. 
I guess I should say that I said yes!  Actually it was more of me doing my best impression of a fish out of water with my mouth opening and nothing coming out.  When I could speak all I could say was "Really?"  I finally had to nod my answer.  I may have made him a wee bit nervous.  It was wonderful though and so perfect, I'm beyond happy!  We're talking next summer for the wedding, but we're in the beginning stages of planning, more to come!!

I hope you all aren't getting sick of my Kleancolor's yet, I have a lot to show and I'm having a lot of fun with them.
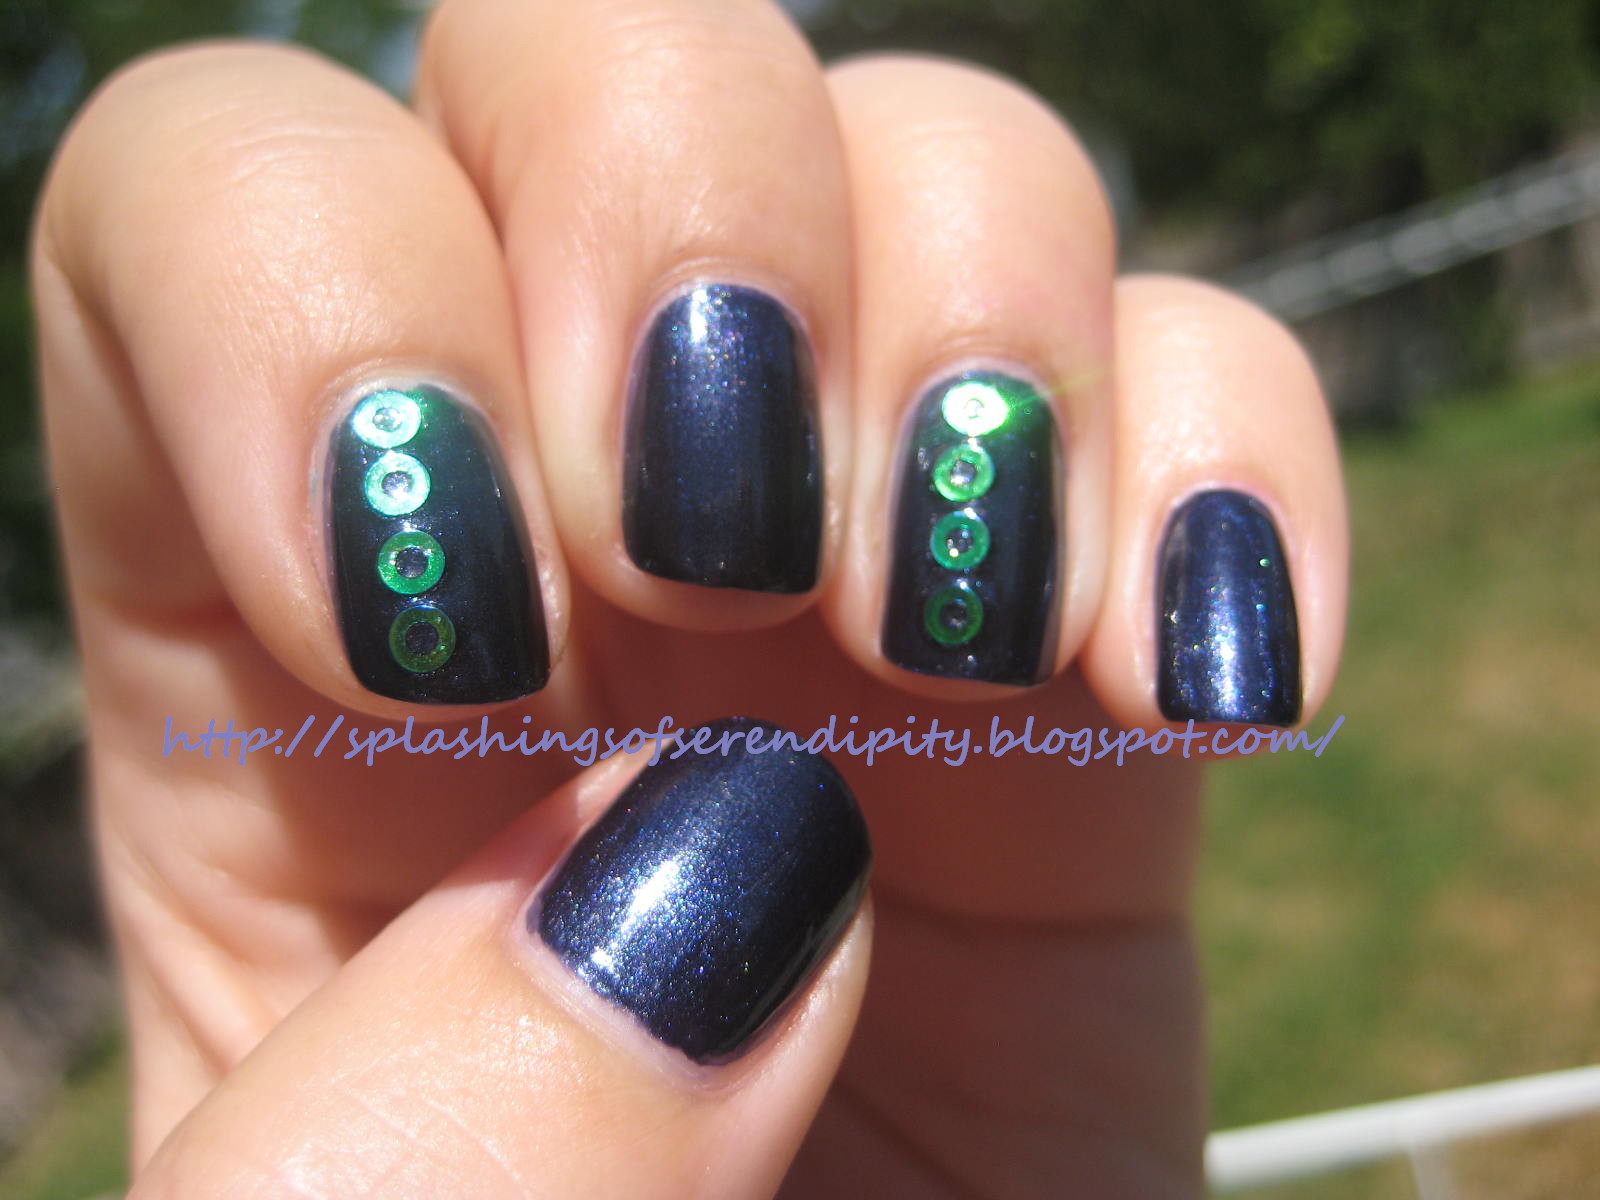
 Pardon the tip wear, my Essie Secret Story survived a day at work before I decided to add some zing with Kleancolor Chunky Holo Fuchsia.  This shows the difference it makes on the original polish with the glitter coat on just my pinky and ring fingers.
 Here it is in the shade where the holo flashes more orangy than rainbow.  I've noticed this about most of the Kleancolor holos.  I think that with this shade though the polish and the glitter are so similar that the latter just doesn't show up as well as it could.  Chunky Holo Fuchsia would be killer over a darker base color.
 Unlike the Golden Nirvana on CG Sun Worshiper, the fuchsia tint only darkened the original color slightly
Even though it looks more like a pink glitter coat than a holo I still love it, I do plan to see what it looks like over a dark base color though.  What do you think of it?

Thanks so much for reading and sharing in my happiness!  Until next time, take care and have a great one!